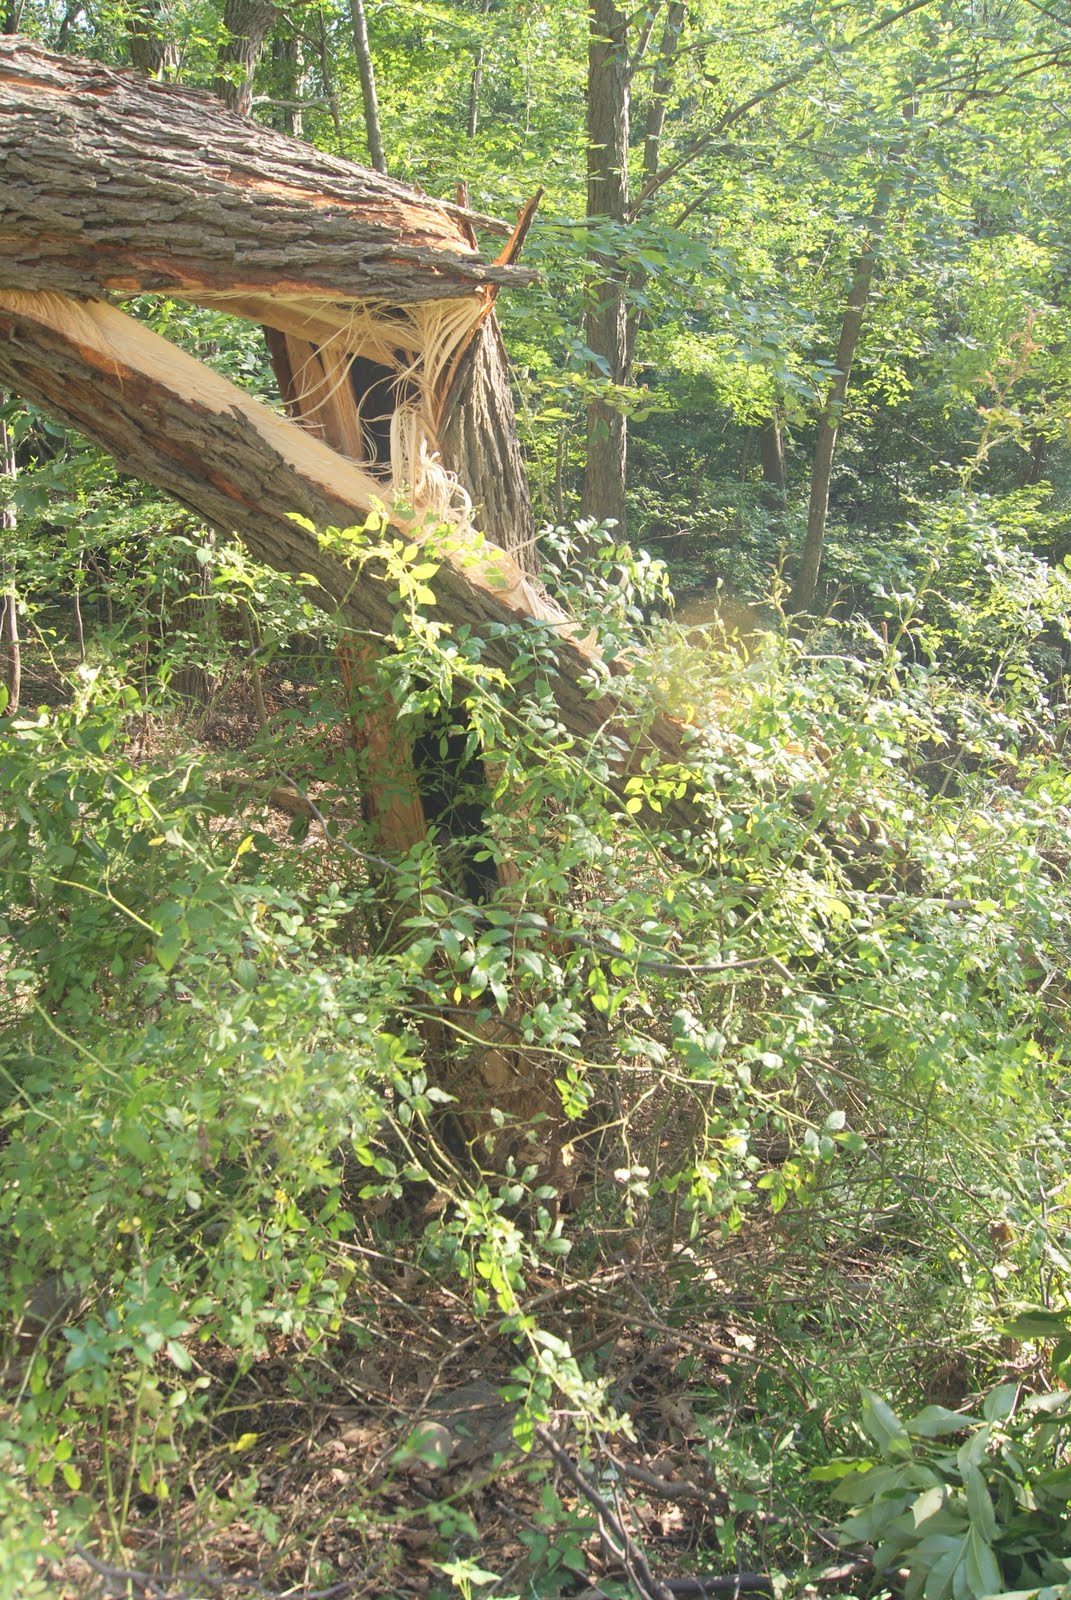
While we had a mason on site, we decided to have some preventative maintenance done on our chimney. As you can see below, it needed a little help. The key word here is "little": take a couple of layers off, redo them, re-stucco, and call it a day. Upon further investigation it was determined that we needed to redo the entire chimney because it was not built correctly, or to code.
Before:
Before:


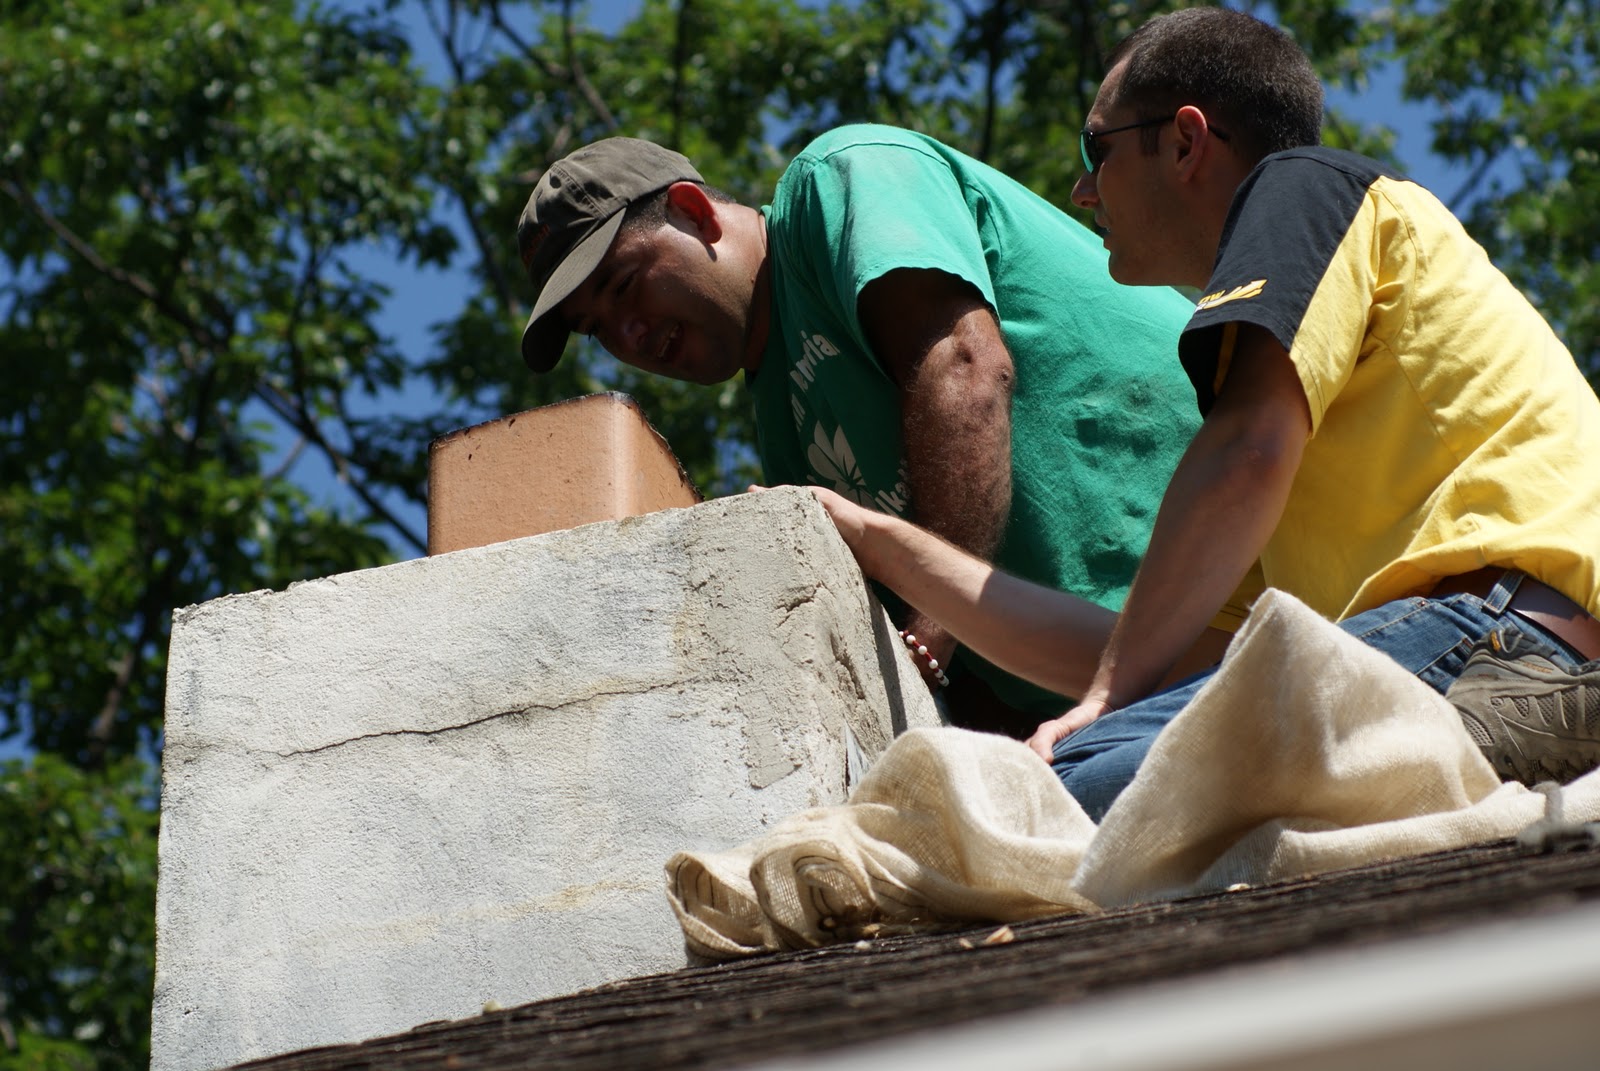
Andrew (yellow shirt) joined the mason on roof to confirm the poor condition of our chimney.
Out with the old....
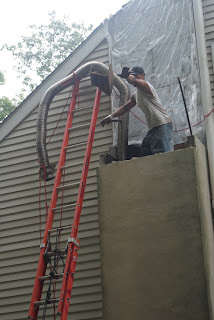

The old chimney came down in less a day. It was like an episode of Holmes on Homes.


The footer for the new chimney is nearly twice the size of the old.
...and in with the new.


Apparently this is how real men mix cement. I gave it a try myself. Not so easy.


Laying the first new block.


Rain? No problem.

This is what our original chimney did not look like. It was never back-filled like this, so the flue pipes wobbled around and smoke leaked through the entire chimney.


After:
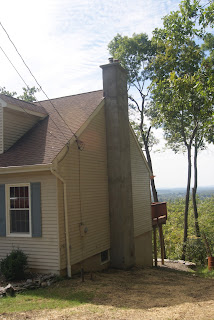

The blue stone cap is in two pieces, but each half is so heavy that it took a pulley system and five guys to get them to the top of the chimney. This is the same crew that topped the trees to open our view, so I guess they remembered how dissapointed I was that I didn't get to see the tree climber in action. Apparently these guys also noticed that I like to document our projects, so they brought a camera to the job-site specifically to take pictures for me! How nice is that?!?! Here are a few pictures from their camera
 The climber is on his way down. Can you see him?
 Our custom made cap. It's hard to tell, but the blue stone is about 4" thick.

Apparently they told him to "swing". I think this is a pretty cool picture.


Apparently they told him to "swing". I think this is a pretty cool picture.